


Description
With pain-table wallpaper you will get the bests of the two worlds. That is paint and wallpaper. Because you get to choose the exact hue of your wall color choice, without compromise, and at the same time the advantages of wallpaper. One of the greatest advantage of pain-table wallpaper, in terms of aesthetics, is texture.

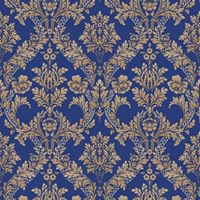
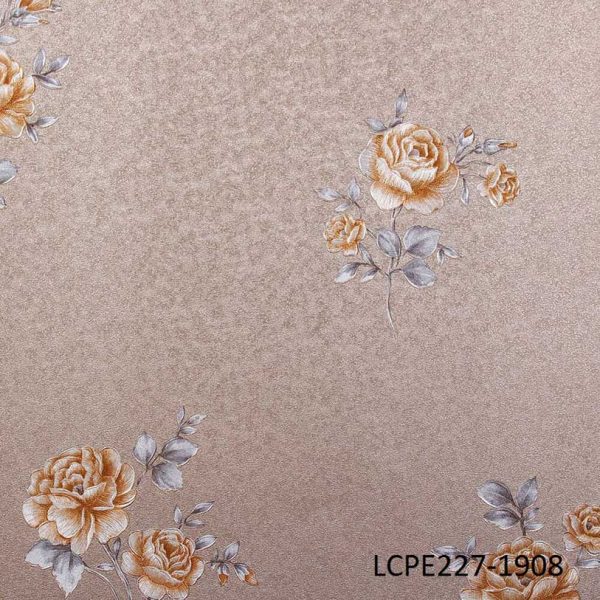
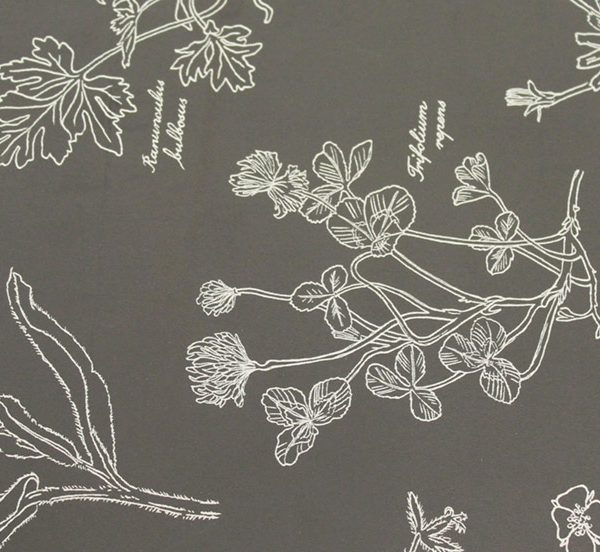
Texture in interior decoration refers to the surface quality of a material, and is an important element of beauty. In other words, when judging the aesthetics of an interior space, texture is a big contribution. Another element is color, but there are other elements too. Most of which are carried on the wallpaper, including the patterns. Even though many wallpapers made for painting do not have any striking pattern, since this would only be covered with mural paint.
These include fiberglass or thick fiber wallpaper and non-woven fabric (TNT) wallpapers , which are used as the base paper for wallpaper. They create a perfect substrate for subsequent wallpaper or paint jobs. They are suitable for almost any surface and they can be painted several times. Furthermore, they are resistant and inexpensive.
Leading manufacturers also offer pain-table wallpapers with attractive textures or reminiscent of reproductions of the plastering, cleaning and trowel techniques. These can be painted with a brush and paint according to the preferences of each one. This offers you an individual refinement of your design, in which the color choice is tailored to your personal tastes.
In order for the wall paint coating to give a perfect result, the pain-table wallpapers are generally white or in natural beige and cream colors . Of course, it is also possible to paint them in colors like red, blue or green, but usually several layers are needed.
No need to remove the wallpaper to change color
With non pain-table wallpaper it is better you remove your paper before hanging a new one or painting. But here is some cases where painting over wallpaper may actually be beneficial. First, and most importantly, the drywall or plaster walls under the paper will remain intact. Removing old paper, or many layers of paper, sometimes although rarely causes unexpected damage to walls. By leaving the wallpaper in place, your walls will stay in their current condition. Second, leaving the wallpaper in place will allow you to paint your walls much more easily and quickly. Removing wallpaper is time-consuming, so you may as well skip this task. Because you save time and money.
How to paint on wallpaper
Step 1
But if you want to paint on an existing wallpaper, glue any loose trim strips with wallpaper glue so they are tight. Remove debris, dust, or dirt from the wallpaper as this will make the adhesion better. Then apply drywall repair material to the joints to smooth the surface, allow to dry, and sand. Using a damp cloth, remove all the dust left by sanding and allow the surface to dry completely.
Step 2
Using a brush, paint (border) the perimeter of the wallpaper surface. Start at the top corner and continue through the ceiling and around the baseboards. At this stage do not be tempted to us a paint roller. Because the paint brush and paint roller have two very different functions.

This means that selecting the right tool for the job is very important. Here is where you should use a paint brush at this stage:
- A paint brush is easily used to cut in and out of smaller and more detailed areas, including trims, corners, and edges.
- Brushes are small and flexible – they work well when controlling paint.
- Also used to create a textured effect with brushstrokes.
- Before using a brush verify the type of paint you are using as well (need help choosing the right brush?
- Nylon or polyester brushes are perfect for latex (water-based) paints.
- Natural brushes are good for oil-based paints, varnishes, and stains.
Step 3

This is the stage that you now require to use a paint roller. Pour the paint from the container onto a tray and dip the roller into the product until it is fully charged. For best results, use a 3/8 “- 1/2” roller.
Working with a paint roller is even less exacting than working with a brush. Even a novice painter can get the feel of it in just a few minutes.
As with brushes, moisten the roller first with water for latex paint. Or with the appropriate thinner for other types of paint. Roll out the excess moisture on a piece of scrap lumber. Or on a Kraft paper or even on a paper grocery bag. Don’t use newspaper because the roller may pick up the ink.
Fill the well of the roller pan about half way full. And then set the paint roller into the middle of the well. Lift the roller and roll it down the slope of the pan, stopping just short of the well. Do this two or three times to allow the paint to work into the roller. Then, dip the roller into the well once more. And roll it on the slope until the pile is well saturated.
You’ll know immediately when you’ve overloaded the roller. Because it will drip en route to the wall. And also have a tendency to slide and smear instead of roll across the surface.
The advantages of using a paint roller are as follows;
- Ideal for bigger ideas such as, walls, ceilings, and large furniture.
- The porous surface of the roller holds much more paint than a brush and distributes an even layer of paint much faster.
- Different finishes can be achieved with different rollers:
- Rollers with a smooth surface will produce a smooth finish.
- Rollers with a thick or fluffy surface will create a more textured finish.
Step 4
Start from the top corner of a 3 ‘x 3’ section of your project, and with the paint-soaked roller draw a “W”. The most effective method of painting with a roller is to paint 2-or 3-square-foot areas at a time.
Roll the paint on in a zigzag pattern without lifting the roller from the wall. As if you’re painting a large M, W, or backward N. Then, still without lifting the roller, fill in the blanks of the letters with more horizontal or vertical zigzag strokes. Finish the area with light strokes that start in the unpainted area and roll into the paint.
At the end of the stroke, raise the roller slowly so it does not leave a mark. Go to the next unpainted area, and repeat the zigzag technique. Ending it just below or next to the first painted patch. Finally, smooth the new application, and blend it into the previously finished area.
Repeat the process forming columns and joining the sections to cover the entire surface.
The benefits you will accrue from pain-table wallpaper
Pain-table wallpaper is Non-woven wallpaper, very simple in plaster look, which look like a completely plastered wall and can be painted over.
Non-woven wallpapers are also available with different surfaces with a subtle or strikingly visible structure or with a smooth and coarse text.
And thanks to the solid support structure, you can simply pull the wallpaper off the wall in one piece. Even after years, there are no scraps of glue that – like paper wallpapers – have to be soaked and scraped with difficulty. The connection from paste to wall is less strong than the non-woven fabric.
If you think non-woven wallpapers is a bit expensive, you should take this into account. Because the time it takes to remove a conventional paper or wood-chip wallpaper is also time and money.
Conclusion
Pain-table Wallpaper is without doubt an excellent solution to many common design problems. Because pain-table wallpaper is a thick wall covering with a raised pattern that can be covered with ordinary flat or gloss paint. And like regular wall coverings, it can be used on one wall, throughout an entire room or hallway, or on ceilings. It also works well in small spaces like bathrooms, and it can add subtle texture and pattern without overwhelming the eye or making the space seem cramped. More importantly pain-table wallpaper also lets you choose the precise color you want. That is rather than hoping you find a wall coverings in the shade you need, which allows for total design freedom.
One more thing, if you’ve got holes in your walls or there are cracks and imperfections that you want to cover, pain-table wallpaper is a good option for you. Why?, because the thickness of the paper helps you to cover discolorations and defects while adding elegant tactility.
Reviews
There are no reviews yet.